
How To Install A Truck Toolbox
If you regularly use your truck, you have all kinds of tools to take with you. Considering that tools and specialty equipment are a significant investment, you have all the reasons to keep them safe and in good shape.
That’s why you need to install a truck toolbox.
A high-quality toolbox organizes your tools and equipment while protecting them from harsh weather conditions and sticky-fingered thieves.
As more and more people appreciate the need to have a toolbox for their truck, there is a rising need to know how to install a toolbox perfectly.
The good news is that installing a truck toolbox is a simple DIY project that you can be complete in a matter of minutes.
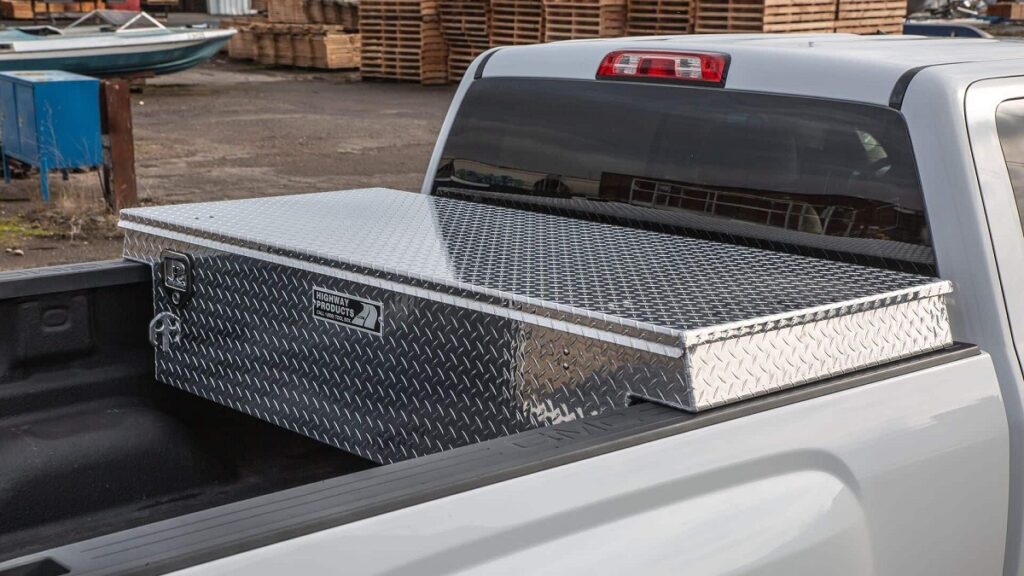
Although they come in different sizes and shapes, most toolboxes come in semi-custom sizes to fit various trucks.
This post will discuss the steps you need to follow to smoothly install a toolbox without drilling, plus other important information regarding the subject. Keep reading!
Truck toolbox installation steps
Before mounting a toolbox, there are a few essential points you need to keep in mind. First off, it should be comfortable and convenient to install.
After installation, it should be safe and well secured to withstand rough terrains, road vibrations, and elements.
When installing, you should also ensure that the box doesn’t damage your truck.
That said, here are the steps to successfully install your toolbox without causing any damage.
Choose the right tool box
This is the first thing you should do in regard to installing the truck toolbox.
Ideally, you should choose a box that can accommodate all your tools and specialty equipment without wasting too much space.
Toolboxes vary in design, where each design is suited for specific applications.
- Side toolboxes: These are boxes suitable for longer tools and designed to be installed along the length of the truck’s bed
- Crossover toolboxes: As the name suggests, crossover toolboxes are installed across the truck’s bed width. They offer a massive storage space ideal for bigger tools
- Fifth-wheel toolboxes: These are smaller boxes designed to keep smaller tools
The right box for you will depend on the tools and equipment you have or what you’re planning to buy. Boxes are also engineered from different materials, so make sure to choose prudently.
Know what is required
To successfully install and secure a toolbox on your truck, it is a no-brainer that you will need some hardware.
Gathering all the materials needed upfront will ensure you complete the task with minimal hassle.
The most obvious hardware include:
- Spanner/ screwdriver/ a pair of pliers
- Heavy-duty screws, bolts, and nuts
- Measuring tape
- Safety gloves
- Protective clothing
- J-hooks
- Open-ended wrench
After gathering the hardware you need, let’s start the real thing.
Identify an ideal installation location
Before installing, you need to choose a convenient spot for your toolbox. In most cases, the ideal spot to install your box depends on the box you selected.
You might need to measure the size of your toolbox and the space available.
When choosing the spot to install your toolkit, make sure to choose an easily accessible location. Importantly, get the precise measurements of the box and installation locations.
Fit the foam padding
Even with the careful installation using the best quality tool belt or tool bag, mounting a toolbox on the truck’s bed risks damaging the cargo bay.
Because you don’t want to expose your cargo bay to damages, it makes perfect sense to install foam padding to cover the bottom and sides of the cargo bay.
So, measure the rubber foam padding and attach it securely and accurately to the installation area.
Note: If your truck comes with a bed liner, you don’t necessarily need to install foam padding.
Align the box with existing holes
Most cargo bays come with pre-drilled holes on the bottom surface.
These holes are usually plugged with rubber plugs, which you need to remove for easy alignment.
You also need to open the lid to make it easier to align the holes on the box with those on the truck’s bed.
Fit the J-hooks or other bolts types
Anchoring plastic toolboxes is relatively easier because you will find holes to fit nuts and bolts. For metallic boxes, you need to mount them using J-bolts.
They are stronger and link your box and truck bed strongly.
Depending on the design of your toolkit, you may need to fit the hooks before placing the box on bed rails.
On average, you need around 4 to 6 bolts to fix the toolbox in place.
Tighten the nuts and bolts
After flipping the J-hooks and bolts, it is time to tighten them. Using the spanner, wrench, pliers, or screwdrivers, tighten the nuts to firmly attach the box to the truck’s floor.
Do not use excessive force, as it might damage the bed rails.
Re-confirm the installation
Once you’re done with the mounting job, open the cap to confirm if it opens freely without any hindrances, then check if the toolbox is tightly sacred onto the truck’s floor.
Try shaking the box to ensure nothing is vibrating or shaking.
Lastly, confirm that no nuts, bolts, or washers have been left behind.
Clean the truck and toolkit
Congratulations, you have successfully installed your truck tools box. You can clean the leftover materials and supplies then ignite your truck.
Picking your toolbox
Toolboxes are engineered from different materials, each with pros and cons.
More often than not, the price of a box reflects its overall quality.
Here are the different materials used in making tool boxes.
- Stainless steel boxes: They are the toughest and perhaps most rigid options. The downside is that they are expensive and vulnerable to weather damage
- Steel boxes: These toolboxes are significantly heavier but come with a powder-coat finish, making them non-corrosive
- Aluminum toolboxes: They are an excellent choice if you want a lightweight yet strong box that won’t rust
- Plastic boxes: These are the cheapest options available. They are lightweight and won’t rust but can break easily. In most cases, they are designed with low capacity
Depending on what tools and equipment you want to keep in the box, you will always find an option that favors you.
Conclusion
Installing a truck toolbox doesn’t need to be one of the most difficult tasks.
With these steps, you will take minimal time and effort to firmly secure a toolbox onto your truck’s floor.
I hope you enjoyed this post on How To Install A Truck Toolbox